
Apr 09, 2023
Build a Linktree Style Page with HTML and CSS
Written by Zack Schwartz
Upon seeing Raytha's numerous social media pages, we initially thought of setting up an account on Linktree. This clever platform provides users with a landing page containing links to all of their social media profiles.
However, we soon realized that as a CMS, we could easily incorporate this feature onto our own website without any difficulty.
Check out the Raytha links page: https://raytha.com/links
Here is how you setup a Linktree-style page using just HTML, CSS, and the Raytha platform.
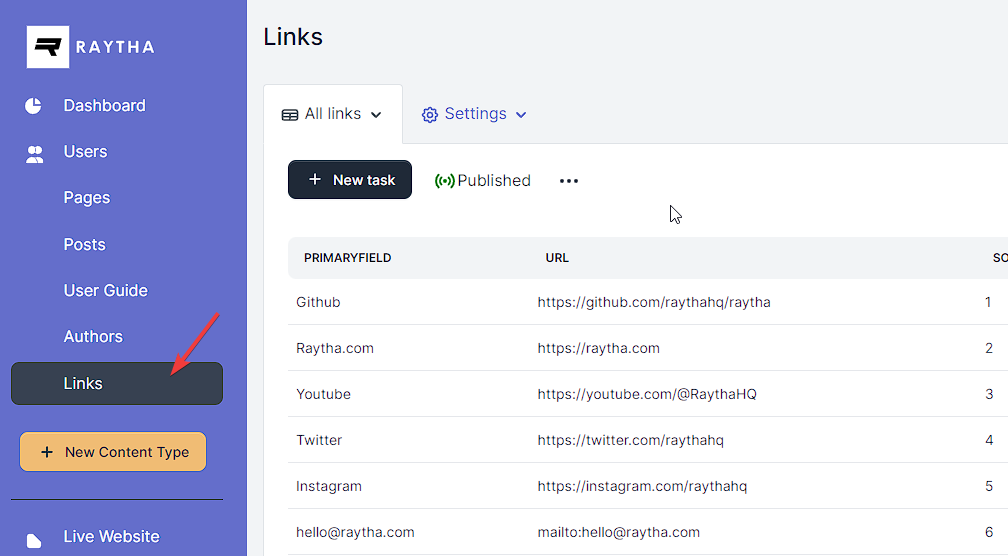
Create the Links Content Type
We created a new "Links" content type.
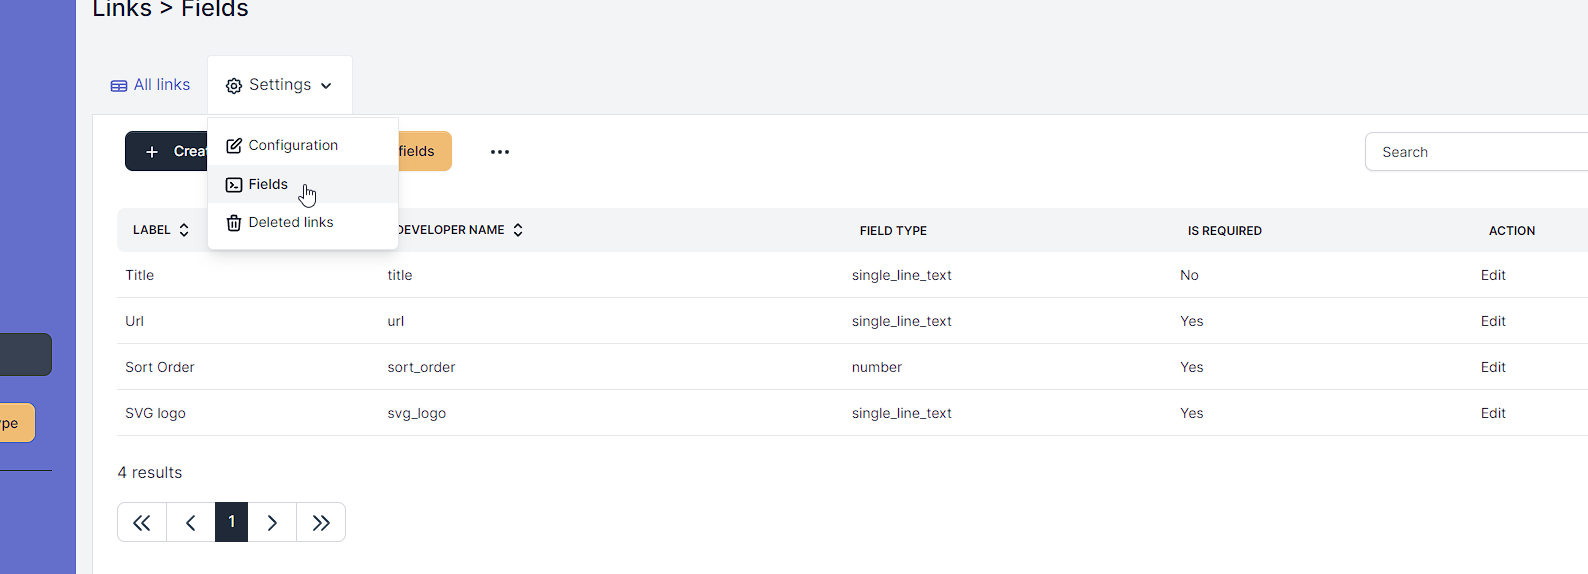
The fields we set on our new Links content type include:
The fields we set on our new Links content type include:
- Title (our Primary Field)
- Url (single line text)
- Sort Order (number)
- SVG logo (single line text)
On the list view, then set the Sort Order to sort by the new sort order field you created.
Create the Templates
We start by creating a new Layout template and call it Links Layout.
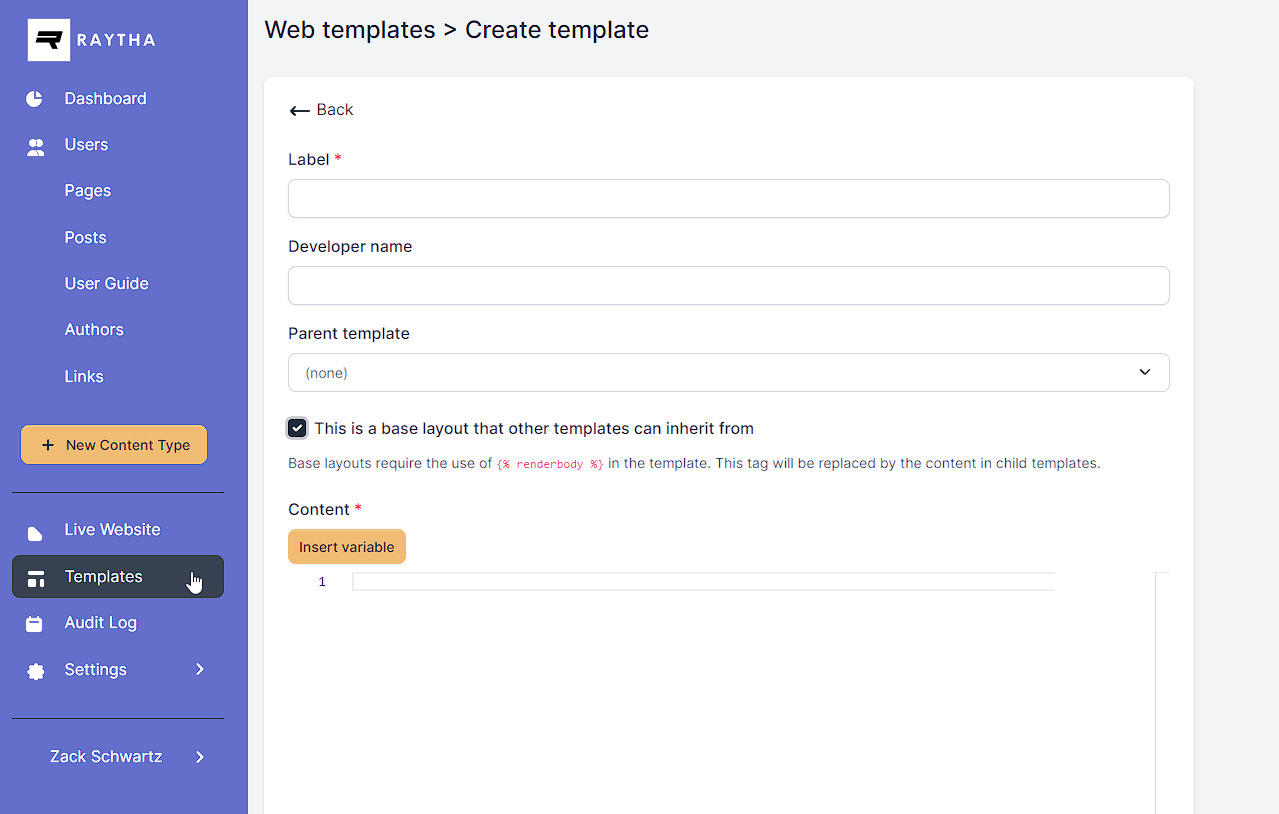
The layout template code is pretty basic and is as follows:
The layout template code is pretty basic and is as follows:
<!DOCTYPE html>
<html lang="en">
<head>
    <meta charset="UTF-8">
    <meta name="viewport" content="width=device-width, initial-scale=1.0">
    <meta http-equiv="X-UA-Compatible" content="ie=edge">
    <title>Raytha | Social Media Links</title>
    <link rel="stylesheet" href="{{ PathBase }}/raytha_default_2023/assets/css/bootstrap.min.css" />
    <link rel="stylesheet" href="{{ PathBase }}/raytha_default_2023/assets/css/animate.css" />
    <link rel="stylesheet" href="{{ PathBase }}/raytha_default_2023/assets/css/lineicons.css" />
    <link rel="stylesheet" href="{{ PathBase }}/raytha_default_2023/assets/css/ud-styles.css" />
    <style>
        .btn-outline-primary {
            color: #646ECB;
            border-color: #646ECB;
        }

        .btn-outline-primary:hover {
            color: white;
            border-color: #646ECB;
            background-color: #646ECB;
        }

        .raytha-link {
            font-size: 20px;
        }

        .link-header-img {
            max-height: 100px;
        }
        body {
            background-color: #646ECB;
        }

    </style>
</head>
<body>
    {% renderbody %}
</body>
</html>
We then created the Layouts List View Template which inherits from the Links Layout we created above.
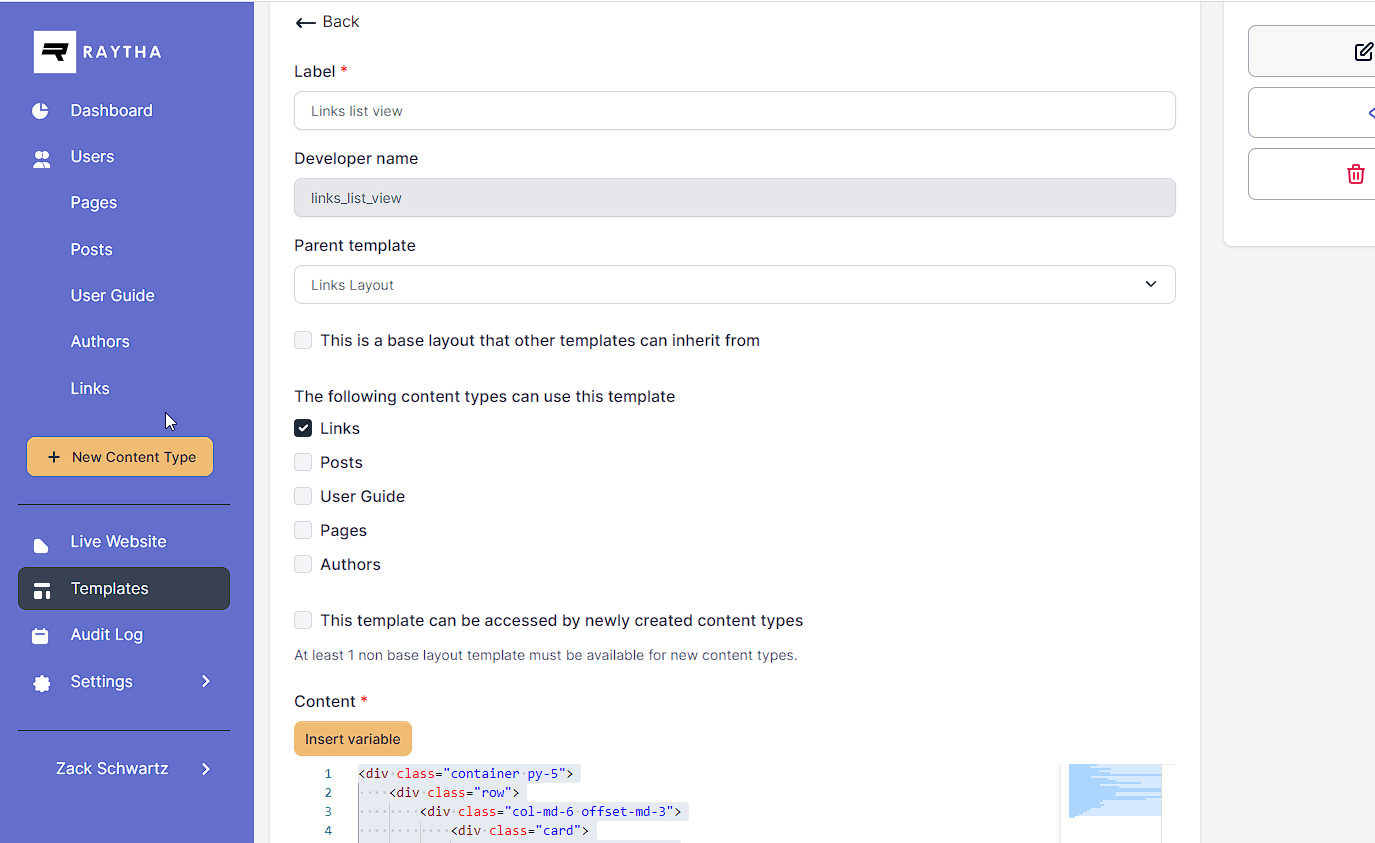
<div class="container py-5">
<div class="row">
<div class="col-md-6 offset-md-3">
<div class="card">
<div class="card-header">
<img class="link-header-img" src="/raytha_default_2023/assets/images/color_logo_nobg.svg" />
</div>
<div class="card-body">
{% if Target.Description %}
<div class="mb-4">{{ Target.Description }}</div>
{% endif %}
{% for item in Target.Items %}
<a href="{{ item.PublishedContent.url.Text }}" class="btn btn-outline-primary mb-3 rounded-pill d-flex align-items-center raytha-link">
<span class="me-2">{{ item.PublishedContent.svg_logo.Value }}</span>
{{ item.PrimaryField }}
<span class="ms-auto">
<svg xmlns="http://www.w3.org/2000/svg" width="24" height="24" viewBox="0 0 24 24" fill="none" stroke="currentColor" stroke-width="2" stroke-linecap="round" stroke-linejoin="round" class="feather feather-chevron-right">
<polyline points="9 18 15 12 9 6"></polyline>
</svg>
</span>
</a>
{% endfor %}
</div>
</div>
</div>
</div>
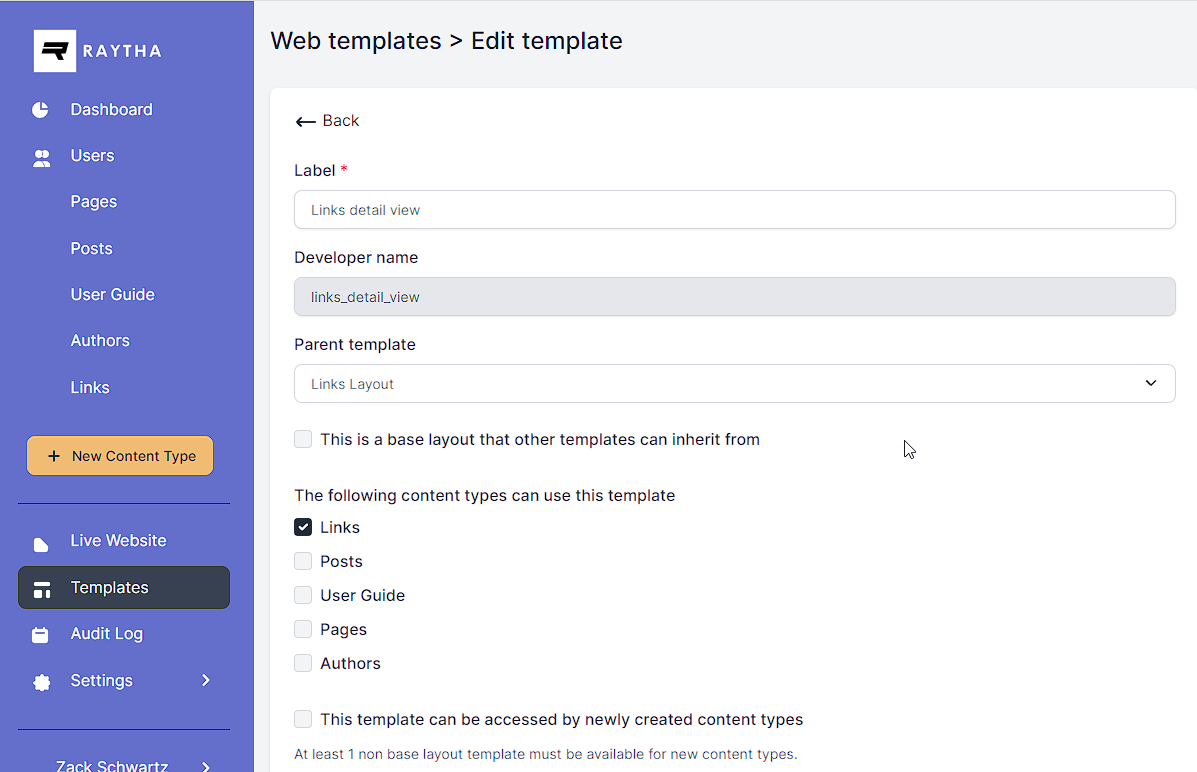
</div>And lastly, we create a Detail View template that, should we want to go to something like https://raytha.com/github, it will flash a page that says "Redirecting to ..." and then take the visitor to the destination.
<div class="container py-5">
    <div class="row">
        <div class="col-md-6 offset-md-3">
            <div class="card text-center">
                <div class="card-header">
                    <img class="link-header-img" src="/raytha_default_2023/assets/images/color_logo_nobg.svg" />
                </div>
                <div class="card-body">
                    <p>Redirecting to {{ Target.PrimaryField }}...</p>
                </div>
            </div>
        </div>
    </div>
</div>
<script>
    window.location.href = '{{ Target.PublishedContent.url }}';
</script>
Final Configuration
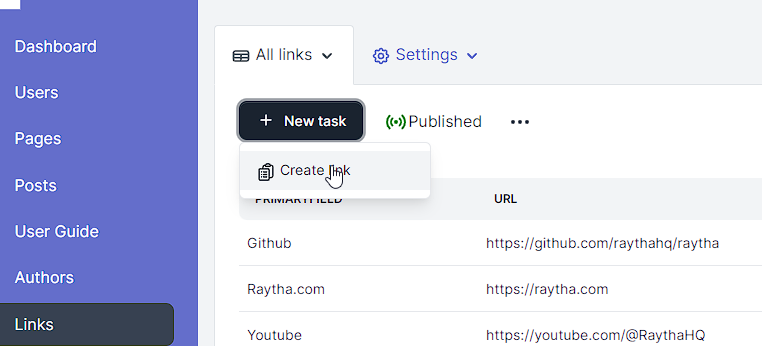
Return to your Links content type and go to the Published list view settings and make sure that the Template is set to your List view template to you just created in the above step. Here, you can also set the Route Path if you want to double check that it is set to /links, or perhaps you want to change it to something else. **Bonus** -- you can also click Set As Home Page here if you want your default site to be this links page.
Now go ahead and add your links and fill out all the information.
For SVG icons, I went here: https://www.svgrepo.com/.
Check out your live page and see how it looks!
