Welcome to the exciting world of Raytha, the open-source .NET CMS. With its latest version 1.0.0, Raytha now offers a powerful and versatile Headless CMS mode. In this article, we'll take a closer look at this exciting new feature and guide you through the process of getting started with it. Whether you're a seasoned developer or just starting out, you'll find the information you need to unlock the full potential of Raytha's headless CMS capabilities.
View the .NET Headless CMS REST API documentation
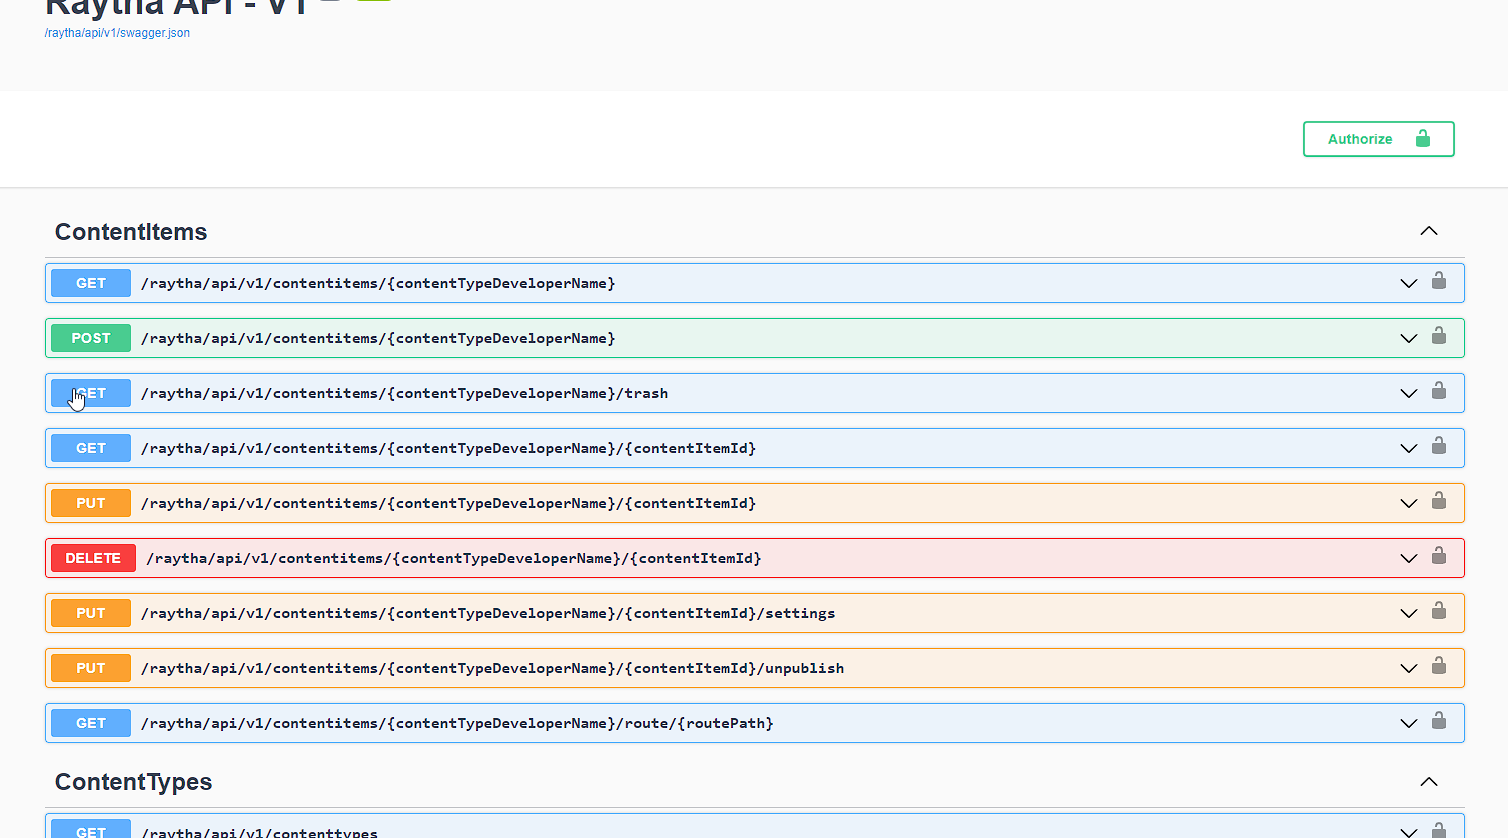
Every installation of Raytha now comes with a built-in REST API, complete with comprehensive documentation that can be found at yourwebsite.com/raytha/api. To give you a better understanding of the API's capabilities, you can also view the auto-generated SwaggerUI specification at https://raytha.com/raytha/api/index.html. It's worth noting, however, that you won't be able to interact with the API without the proper API key.
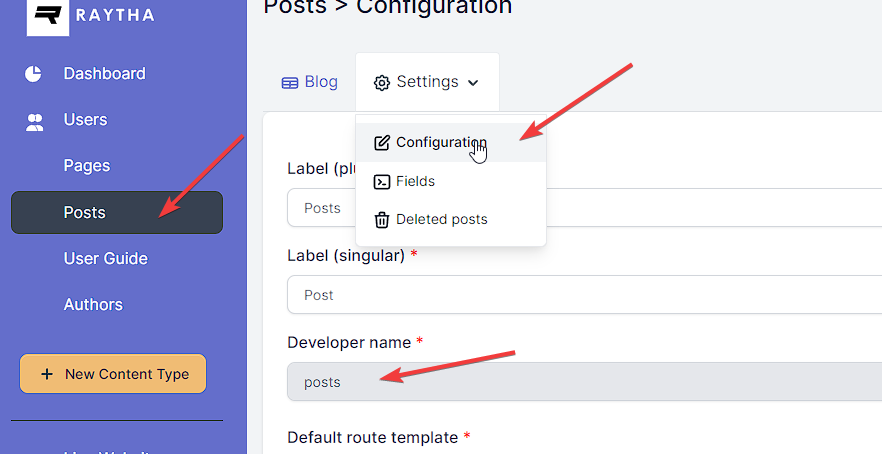
The REST API is a powerful tool that allows you to interact with the content stored on your Raytha website. When making API calls, you'll notice that each route includes a variable called {contentTypeDeveloperName}. This variable corresponds to the developer name for a specific content type, which can be found by accessing the Configuration settings for that content type, as shown in the screenshot provided.
You have the opportunity to specify a developer name for the content type when creating a new type. However, you cannot change the name of the type after it has been created.
With the REST API at your fingertips, the possibilities for integrating and extending your Raytha website are nearly endless.
Get an API key
Accessing the full potential of the REST API in Raytha requires an API key. Creating an API key is a straightforward process. First, go to the Settings > Admin section, and either select an existing administrator or create a new one specifically for the purpose of using an API key. It's important to keep in mind that the API key will inherit the roles assigned to the administrator account.
Next, click on the "API keys" option in the right-side navigation and generate a new key on the following page. With the API key in hand, you'll be able to make use of the REST API and all its capabilities, making it easier to integrate and extend your Raytha website.