This post will cover creating an HTML form with simple fields: name, email, and a message to represent filling out a Contact Us form. The .NET application will receive the form submission, send an email to the administrator, and also save a copy of the form submission to the Raytha database.
One of the primary missions of Raytha is not necessarily remove the need to write code entirely, but to allow the developer to push the platform as far as they can out of the box, and then mitigate the amount of C# and .NET code required to pull all of the elements together. While Raytha has plans to introduce a wider set of Form Submission capabilities, at the moment, you have to write some custom code to handle the intake.
Create your content type
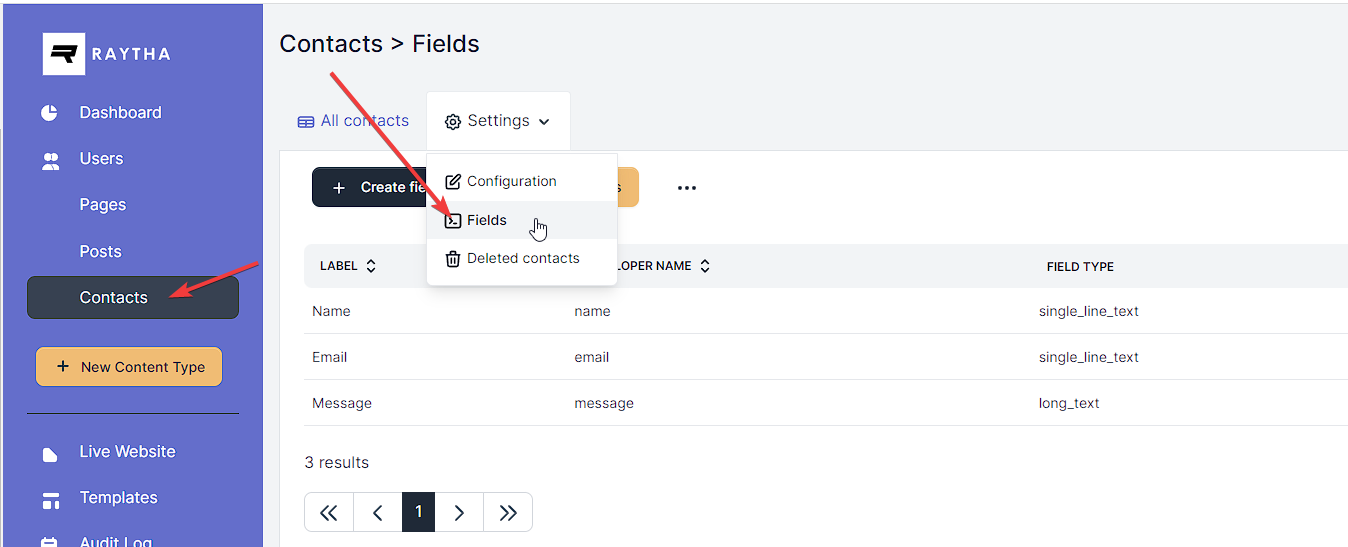
Using the Raytha platform, we want to be able to store the Form Submissions into the database so that we can refer and report on them later. The easiest way to do this is to create a new content type by going to New Content Type and creating a model with the necessary fields. See the screenshot below as an example:
Make sure you select which fields are required to be filled out as part of the model assembly. The other item you want to take note of is the Developer names you used when creating the content type and the content fields. They will be used later in code.
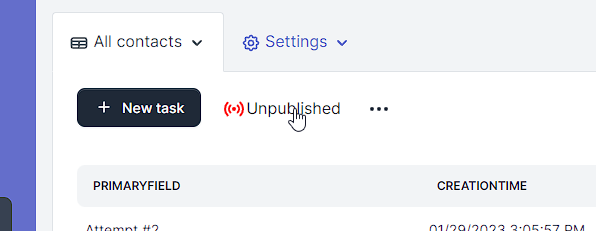
I also prefer to set the List Views to Unpublished so that the submissions are not accessible on any list views on the public site.
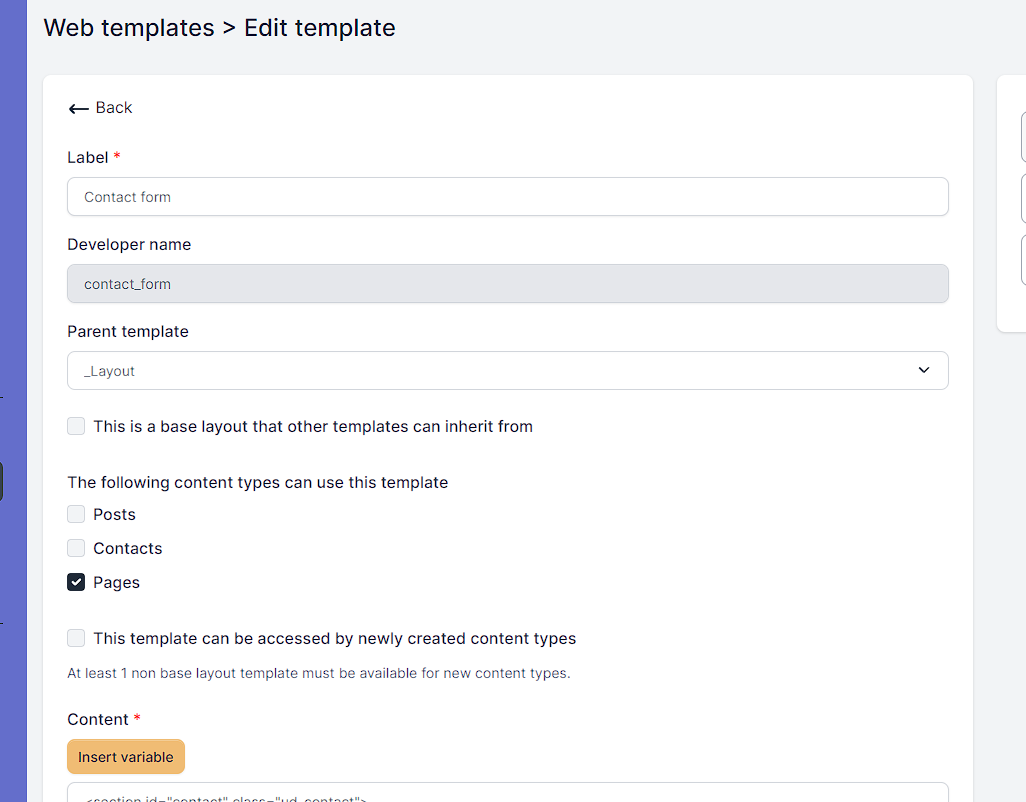
Now that we have our data model setup in the platform, it is time to create our Web Template. Under Templates, create a new template and call it "Contact form". My template uses the _Layout as the parent template and it is limited to only allow the Pages content type access to use this template.
Take note of the important points in the code above:
{{ RequestVerificationToken }} is a variable that populates with the .NET auto-generated request verification token used to mitigate XSRF/CSRF attacks.
Use of the {{ ViewData["ValidationErrors"] }} variable which will populate if there were any validation issues when attempting to save the item to the Raytha database. There are sub-keys of "name", "email", and "message" which align with the developer names of the respective fields.
The form action="/contact-us" which is the route that we will POST our form to.
Create your page
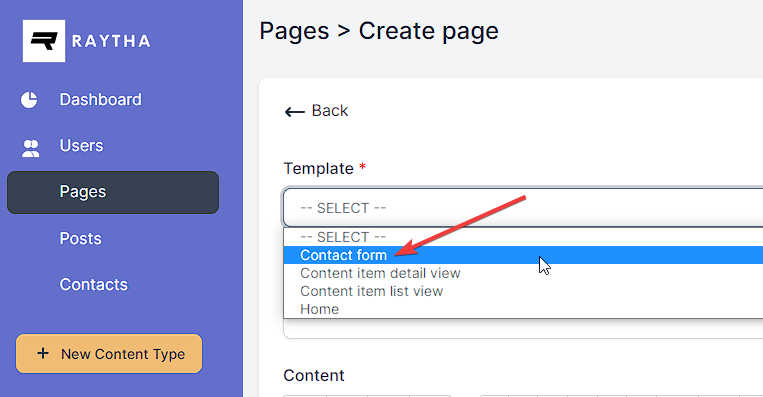
The next step is to actually create the Raytha page where this form will exist. Under Pages, create a new page and make sure you select the Contact form template that you just created in the previous step.
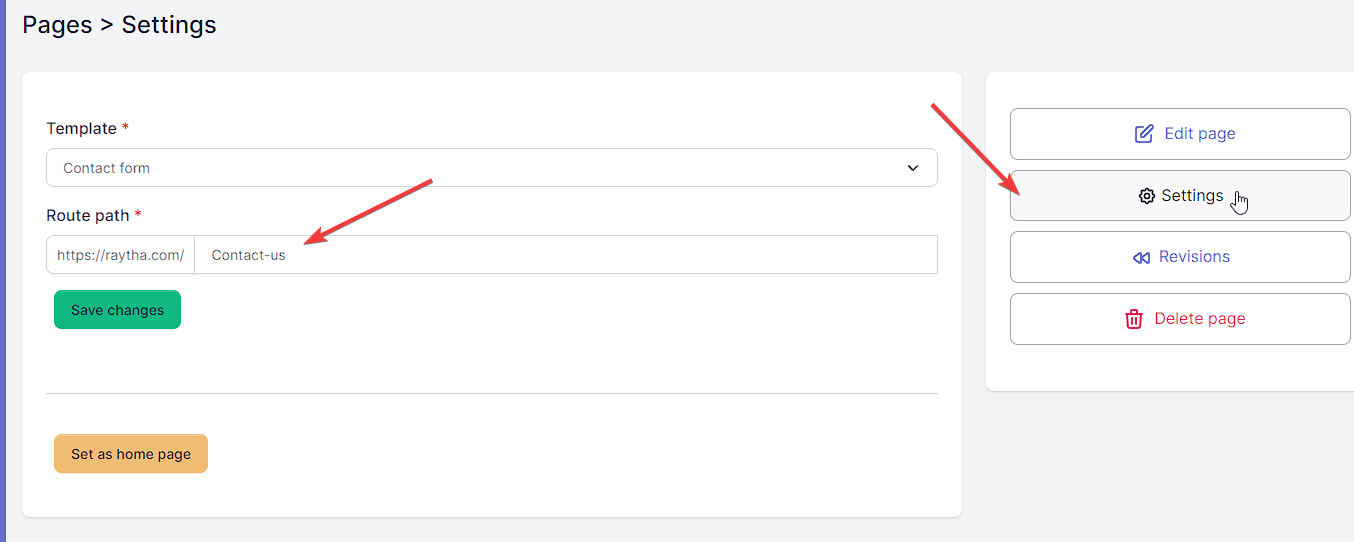
After creating and publishing the page, under the Page Settings, make sure the Route path is set to the same value you specified in the form action="" route. In our case, we went with "contact-us".
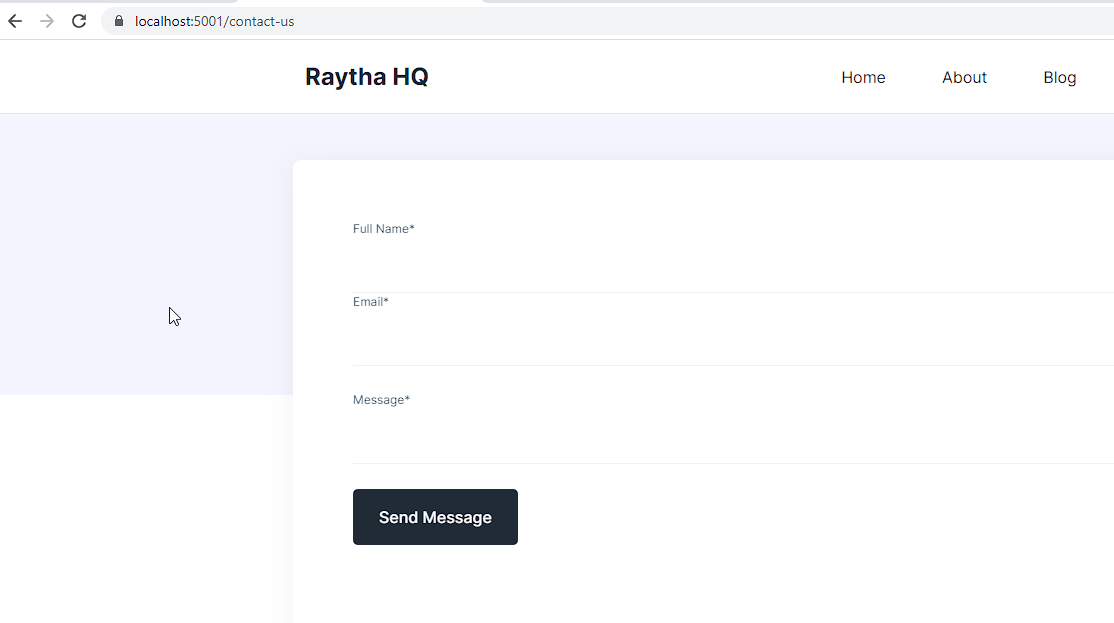
If you go to your live site, at something like https://localhost:5001/contact-us or whichever route path you chose, you should see the form appear as expected.
However, if you try to submit the form, you will receive a 404 not found error. This is the point at which we pushed Raytha as far as we can out of the box and now need to add the .NET code to receive the form post.
Add the .NET code
Loading up Visual Studio to add the functionality to receive the HTML form submission, what I prefer to do is go to Raytha.Web > Areas > Public > Controllers and add the controller. In my case, I went with ContactsController and the code I used is below.
using Microsoft.AspNetCore.Mvc;
using Microsoft.AspNetCore.Routing;
using Microsoft.Extensions.DependencyInjection;
using Raytha.Application.Common.Interfaces;
using Raytha.Application.Common.Models.RenderModels;
using Raytha.Application.ContentItems.Commands;
using Raytha.Application.ContentItems.Queries;
using Raytha.Application.ContentTypes;
using Raytha.Application.ContentTypes.Queries;
using Raytha.Application.Routes.Queries;
using Raytha.Application.Templates.Web.Queries;
using Raytha.Domain.Common;
using Raytha.Domain.Entities;
using Raytha.Web.Areas.Public.DbViewEngine;
using System.Collections.Generic;
using System.Threading.Tasks;

namespace Raytha.Web.Areas.Public.Controllers;

[Area("Public")]
public class ConcactsController : BaseController
{
    protected IEmailer _emailer;
    protected IEmailer Emailer => _emailer ??= HttpContext.RequestServices.GetRequiredService<IEmailer>();

    [Route("contact-us", Name = "contactformsubmission")]
    [HttpPost]
    [ValidateAntiForgeryToken]
    public async Task<IActionResult> ContactForm(ContactFormSubmission model)
    {
        var contactType = await Mediator.Send(new GetContentTypeByDeveloperName.Query { DeveloperName = "contacts" });
        var contactUsTemplate = await Mediator.Send(new GetWebTemplateByName.Query { DeveloperName = "raytha_html_content_item_detail" });
        var input = new CreateContentItem.Command
        {
            ContentTypeId = contactType.Result.Id,
            SaveAsDraft = false,
            TemplateId = contactUsTemplate.Result.Id,
            Content = new Dictionary<string, dynamic>
            {
                { "name", model.FullName },
                { "email", model.Email },
                { "message", model.Message }
            }
        };

        var response = await Mediator.Send(input);

        if (response.Success)
        {
            Emailer.SendEmail(new EmailMessage
            {
                To = new List<string> { CurrentOrganization.SmtpDefaultFromAddress },
                Content = model.Message,
                IsHtml = false,
                Subject = $"[raytha.com] Contact Form - {model.FullName}",
                FromEmailAddress = model.Email,
                FromName = model.FullName
            });
            return Redirect("/contact-form-submitted");
        }
        else
        {
            SetErrorMessage("There were errors with your form submission. See errors below.", response.GetErrors());
            var routeResponse = await Mediator.Send(new GetRouteByPath.Query { Path = "contact-us" });
            var pageItem = await Mediator.Send(new GetContentItemById.Query { Id = routeResponse.Result.ContentItemId.Value });
            if (!pageItem.Result.IsPublished)
            {
                return new ErrorActionViewResult(BuiltInWebTemplate.Error404, 404, new GenericError_RenderModel(), ViewData);
            }
            var contentType = ContentType_RenderModel.GetProjection(contactType.Result);
            return new ContentItemActionViewResult(pageItem.Result.WebTemplate.DeveloperName, model, contentType, ViewData);
        }
    }
}

public class ContactFormSubmission
{
    public string FullName { get; set; }
    public string Email { get; set; }
    public string Message { get; set; }
}
You can see in the above code that the ContactFormSubmission class has properties with names that match the name values in the HTML form exactly. We add the code to save the form submission to the Raytha Contacts content type that we created. And if it is successful, we use the IEmailer interface to send ourselves an email and then redirect to /contact-form-submitted. If it did not successfully save to the database, we output the errors to the user.
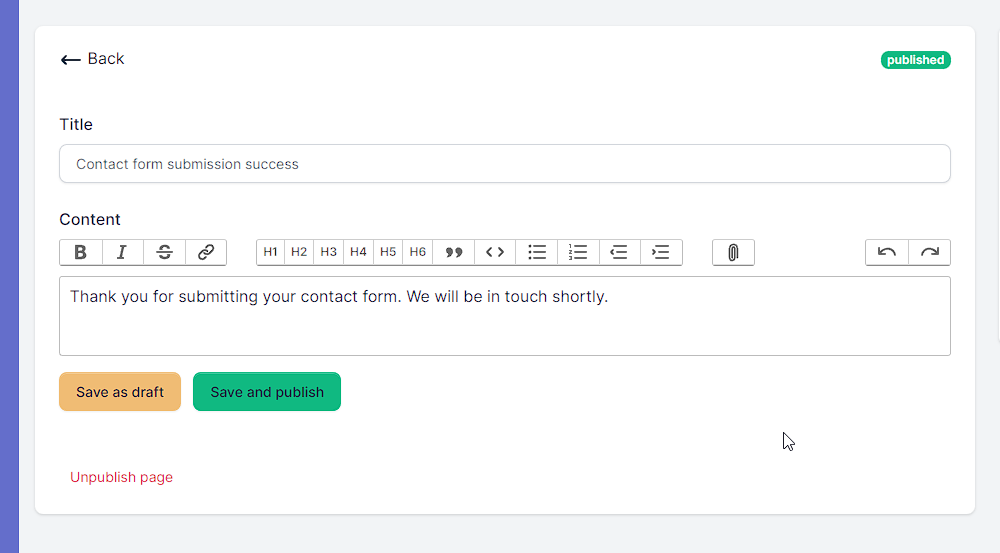
Setup the confirmation page
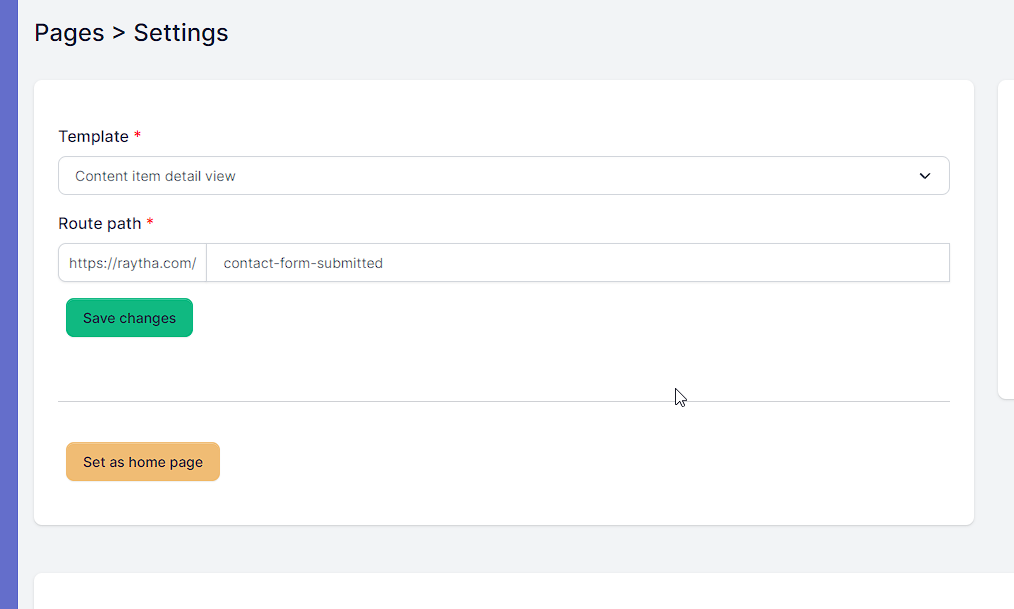
In the above step, we redirect the user to /contact-form-submitted. But if you run the code, it will save the form submission to the database, send you an email notification, but it will 404 out anyway. This is because we are redirecting to a confirmation page we have not yet created.
Go back to your Pages content type and create a new page for your confirmation message. Make sure that the Route path for this page matches that redirect route:
1. Create a content type to save the form submissions to the database 2. Create a web template with the HTML form to submit 3. Create a page that uses this web template 4. Write the C# endpoint to receive the posted form submission, save to the db, and send the email 5. Create a confirmation page
Not bad at all. There are some enhancements that we can make on the above form that we will cover in future topics such as adding captcha to prevent spam submissions, require the user to be logged in to submit a form, and handling more complex forms that involve file uploads. Follow us on Twitter and Youtube to be notified when we release new content!
ENTREPRENEUR & SOFTWARE ENGINEER, AUSTIN, TX I enjoy tackling a wide array of business challenges ranging from front line product support and operations to sales and marketing efforts. My core expertise is in software development building enterprise level web applications.