Get started with the basics of building a template using HTML and Liquid.
Introduction to liquid templates
This article is intended for more technical users who are comfortable with HTML and want to learn more about templates in Raytha. If you are not familiar with HTML or do not want to work with it, you may want to skip this section or share it with someone who is more comfortable with the language.
Templates in Raytha are written in HTML and use Liquid syntax for rendering content, control statements, and looping. Liquid is an open-source syntax invented by Shopify that allows you to easily incorporate dynamic content into your templates. To learn more about how to use Liquid, you can visit the website.
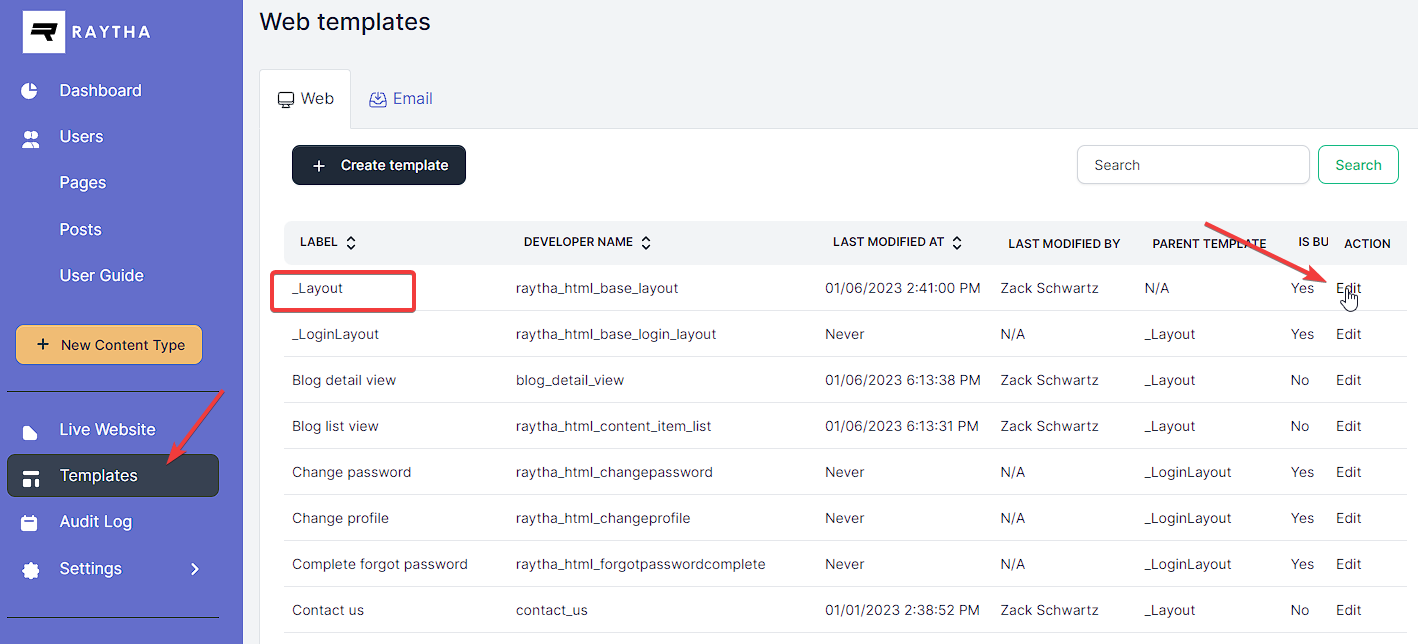
To access templates in Raytha, click Templates in the left side navigation. Note that you must have permission to access this area. Raytha comes with several pre-installed templates, including a default _Layout template that serves as the parent template for other templates to inherit from. This template should contain the overall structure of your HTML, including head scripts, styles, footers, etc. Any template that is specified as a base layout must include a {% renderbody %} tag to indicate where the child template should be rendered. There is a maximum inheritance level of 5 templates.
Screenshot of the templates list view When creating or modifying a template, you can specify which content types have access to it. This can help prevent confusion and ensure that content managers select the correct template for a given content type.
To populate content in a template, you can use variables by clicking Insert Variable and selecting the desired variables from the list. Commonly used variables include CurrentUser variables, which allow you to render content based on whether the user is logged in and information about their user groups, etc.
List view templates and detail view templates are treated differently when rendering content due to the Target variable.
List view template
When rendering a list view, the Target variable renders details from the view, including the Target.Items array of content items. Additionally, there are variables available for building pagination, as well as search, filter, and order by functionality.
You can apply advanced filters, searching, and sorting using OData standards in the list view template. For example, the URL for the User Guide list view might include a search query parameter like "https://raytha.com/user-guide?search=admin". You can also use OData-style filters in the URL, such as "https://raytha.com/user-guide?filter=category eq 'settings'", which filters the list view based on the developer names of the content type fields. This allows you to build front-end functionality like sidebar filters.
On a detail view template, the Target variable will render content only from the individual content item being viewed. When inserting variables from content type fields, you will see both .Text and .Value versions. The .Text version is essentially a string value of the variable, while .Value is the raw value of the element. This can be useful when using control statements in Liquid, as demonstrated in the example below:
When rendering relationship fields in a Raytha template, you can access any field in the related content item, but only one level deep. If the related item has its own related items, you will not be able to access them from the template. This means that you can only display content from the immediately related item, and not from any items related to it. Below is an example demonstrating the User Guide article functionality in Continue learning learning section.