Setup user groups to support advanced public page access
Show or hide website content to different public users based on the user groups they may be a part of.
It is often necessary to segment content and restrict access to different groups of users when building websites and applications. Raytha makes it easy to do this with User Groups.
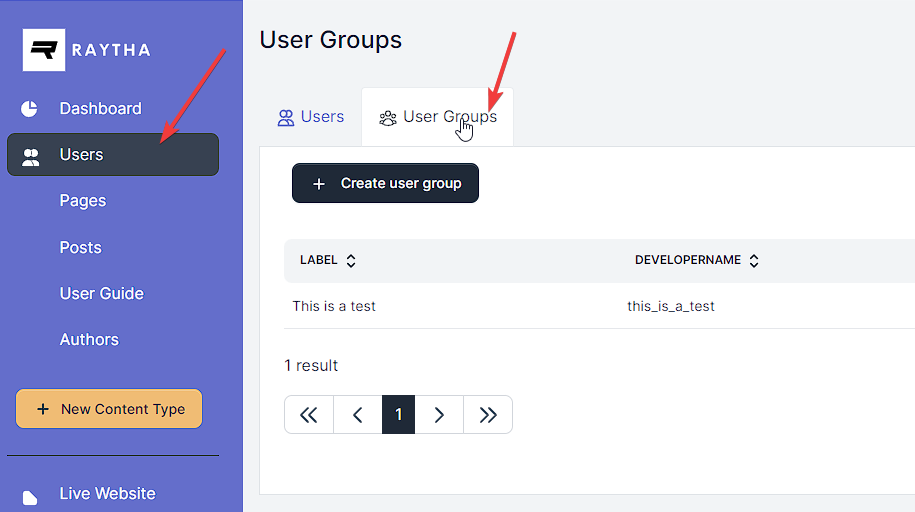
To set up a user group, go to the left side navigation and click Users, then click User Groups in the top tab. From there, click Create user group and give the group a label and developer name. The developer name cannot be changed after the group is created and is used in templates and code.
You can manually assign users to specific groups by editing their account and selecting the appropriate groups. User groups can also be automatically populated on a user's account through JWT or SAML-based single sign-on. For more information, see the developer documentation.
Under the Continue learning section below, click the link to the next article to proceed to the next step in the user guide.