Add additional administrator accounts and configure granular role based access controls (RBAC).
Manage other administrators
Raytha has a role-based access control system that allows you to create administrators with different levels of access to the platform. The system includes three default roles: Super Admin, Admin, and Editor. The Super Admin role has the ability to manage other administrators, while the default Admin role has all permissions except for the ability to manage administrators. The Editor role can only read, edit, and configure content types.
Add an administrator
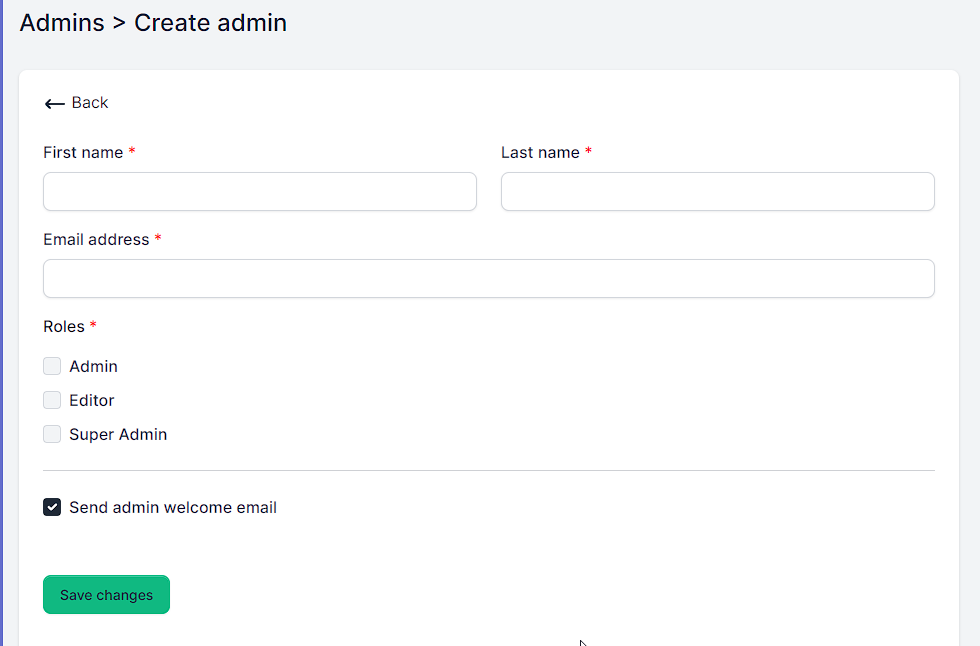
You can add an administrator by clicking Settings in the left side navigation and then click Admins. Screenshot pointing to the left side navigation's Admin link From here, you can click the "Create admin" button to create a new administrator. On the admin creation page, enter the administrator's name and email address, and assign them one or more roles. You can also choose to send them the Admin Welcome email, which includes an automatically generated password or login instructions if single sign-on is enabled. The content of this email can be edited in the Templates > Email section.
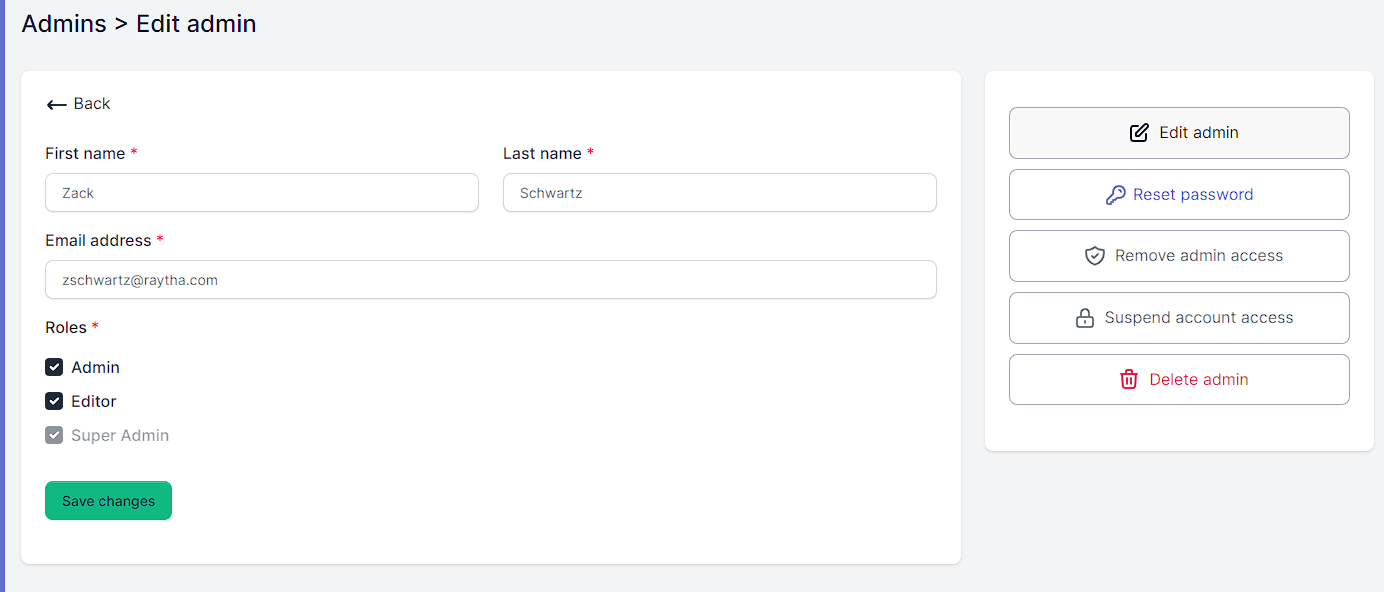
To edit an existing administrator, click on the Edit button from the admin list view. On this page, you can modify the administrator's roles, reset their password (if single sign-on is not the only authentication method), revoke or suspend their admin access, or delete the administrator. Note that you cannot take actions that would negatively impact your own access to administrative functionality.
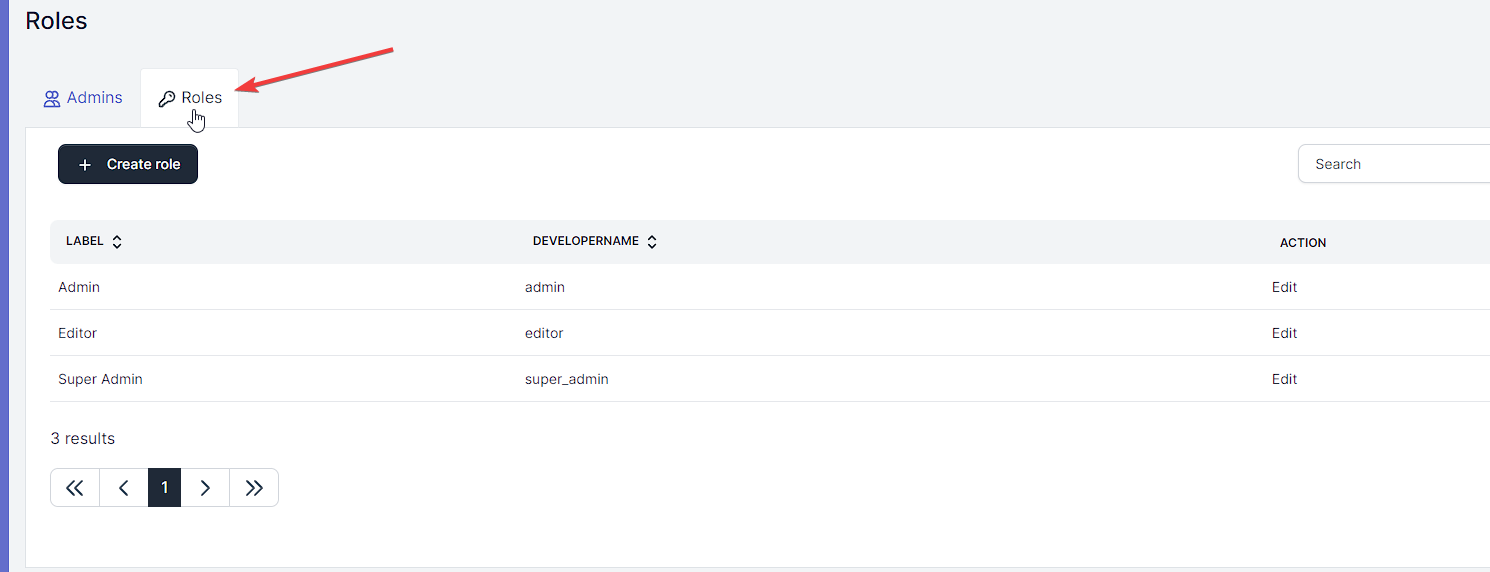
In addition to creating and editing administrators, you can also create and edit custom roles and permissions by clicking on the Roles tab at the top of the admin list view.
Screenshot showing where to click the Roles tab From here, you can create, edit, or delete roles. When creating or editing a role, be sure to give it a label and a developer name, and select the permissions that the role should be associated with. Developer names are important as they may be used by developers in templates or in code when building on top of Raytha.
Permission levels can also be customized at the content type level. This allows you to give certain users access to managing specific types of content, or to only allow them to read the content without making any changes. In addition, you can give roles the ability to configure content types, which includes editing fields and other functions.
Screenshot of the create role screen In this article we learned to manage administrators and role-based access control in Raytha. Move on to the next article in the user guide by seeing the Continue learning section below.